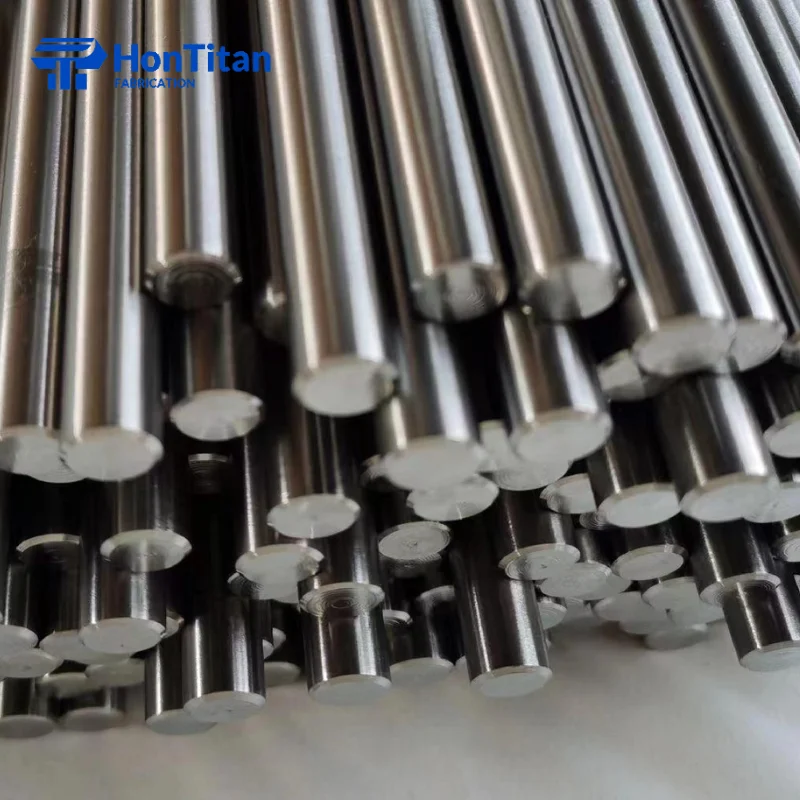
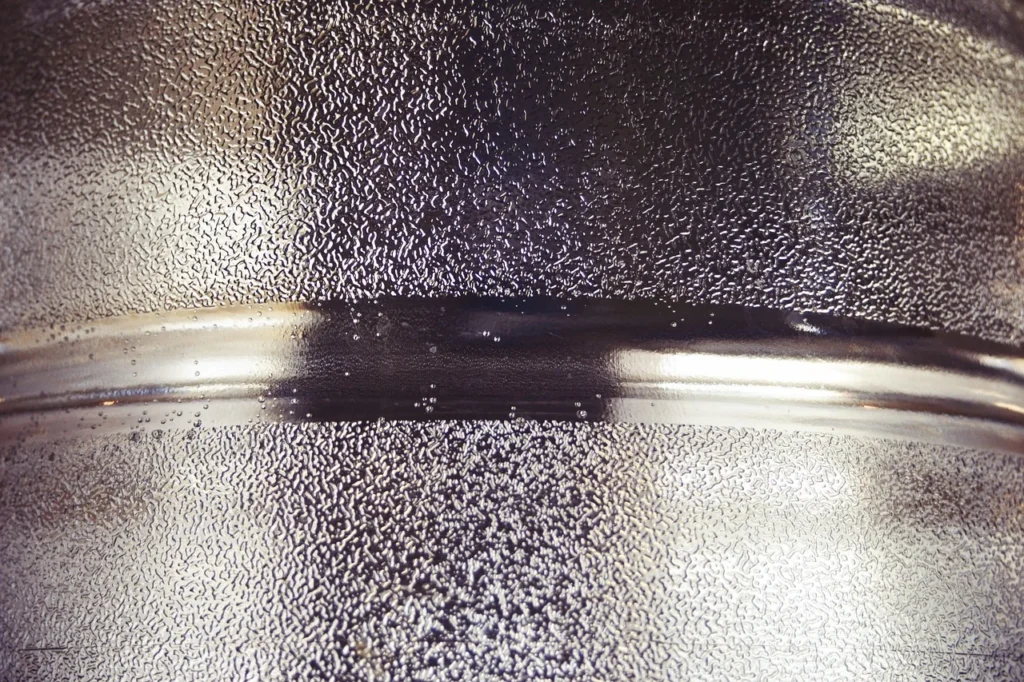
Polishing titanium to a mirror finish requires a precise grit progression (220→400→800→1200→2000), the right abrasive compound matched to your alloy grade, and strict heat control. Grade 2 (commercially pure) titanium polishes with standard aluminum oxide compounds; Grade 5 (Ti-6Al-4V) requires diamond paste. The process takes 1–3 hours by hand and is achievable at home for small parts — but titanium’s low thermal conductivity (7.2 W/m·K) means heat builds fast, and skipping grits or using wrong compounds are the two most common reasons the job fails.
Why Titanium Is Harder to Polish Than Stainless Steel
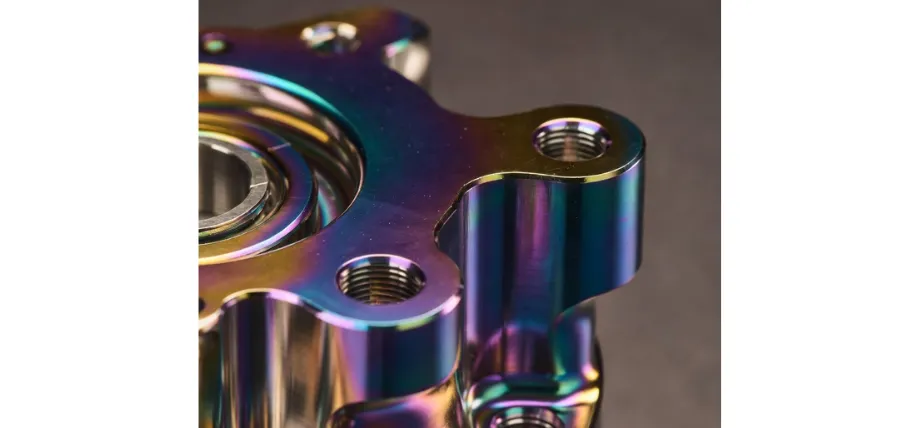
The short answer: physics. Titanium conducts heat at roughly 6.7W/m-K (Grade 5). Stainless steel moves heat away at about 16 W/m·K — more than twice as fast. That difference means every second of abrasive contact on titanium concentrates heat at the interface rather than spreading it through the part. Push too hard, move too slow, or skip a cooling pass, and the surface oxidizes instantly: you get the blue-to-rainbow TiO₂ discoloration that’s the signature sign of a titanium polish gone wrong.
Three other factors compound the difficulty:
작업 강화. Titanium hardens under abrasive pressure as you polish. The surface you’re cutting in pass 3 is meaningfully harder than it was in pass 1. This isn’t dramatic, but it means consistent light pressure outperforms aggressive heavy strokes — the surface fights back.
The self-repairing oxide layer. Titanium’s natural TiO₂ coating reforms almost instantly after being abraded away. You’re not removing it once — you’re continuously cutting through it. This is why dull or loaded abrasives stall progress: they push the oxide layer around instead of cutting it.
Alloy grade matters. Grade 2 commercially pure titanium (HV ~160–200) polishes comparably to 304 stainless. Grade 5 Ti-6Al-4V (HV ~330) is significantly harder and aluminum oxide compounds break down against it without cutting effectively. If you don’t know your grade, assume Grade 5 and use diamond compound — you won’t hurt Grade 2 by using a better abrasive, but you’ll waste hours on Grade 5 with the wrong one.
Tools and Materials You Actually Need
Sandpaper / Abrasives
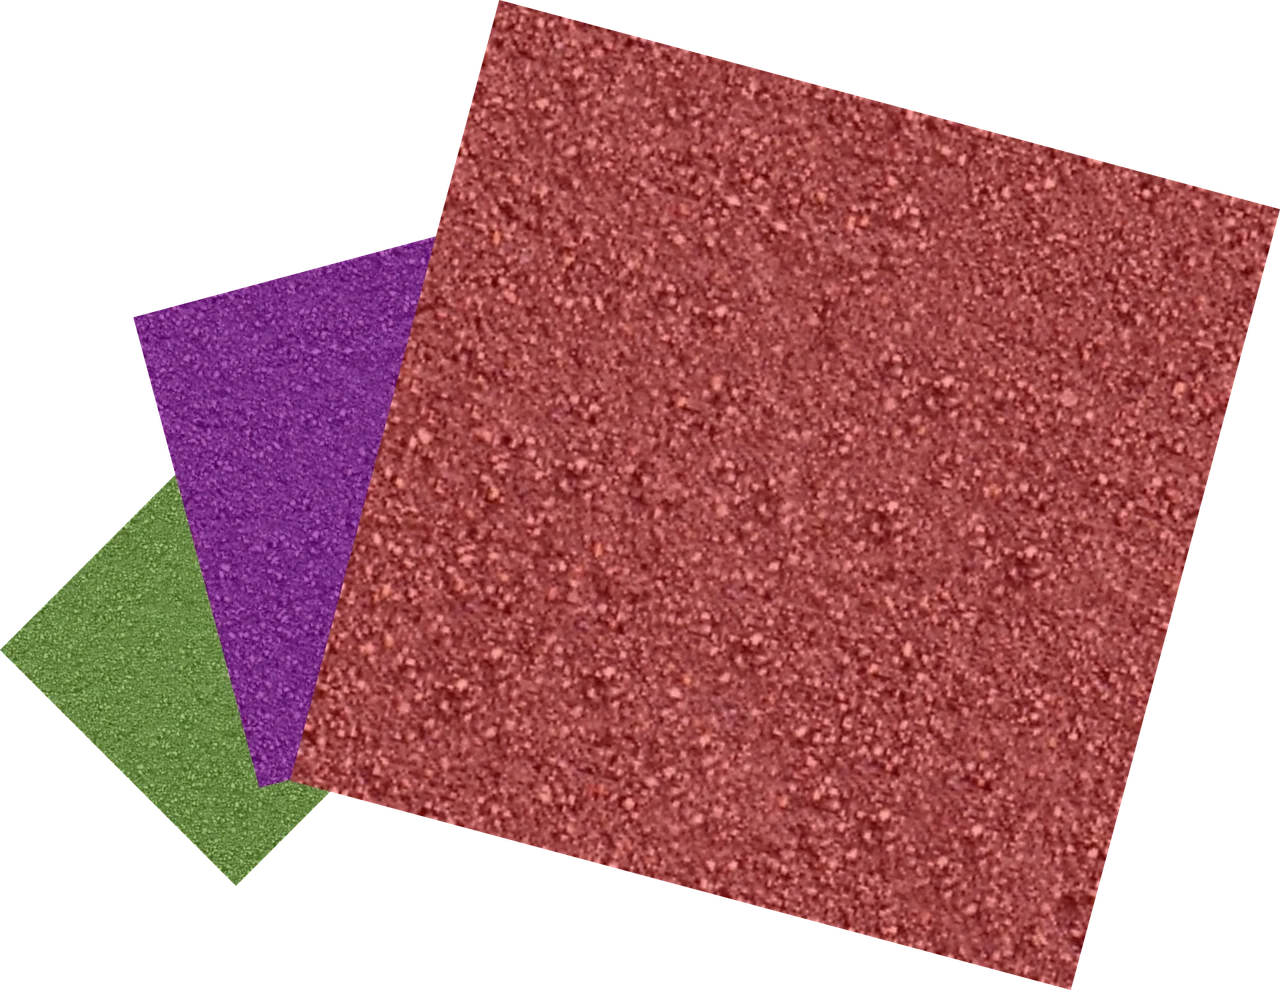
사용 silicon carbide wet/dry sandpaper in this grit progression: 220, 400, 600, 800, 1200, 2000. Wet sand with water or light cutting oil throughout — this removes swarf, prevents loading, and controls heat. Aluminum oxide sandpaper works for Grade 2; for Grade 5, invest in silicon carbide from the start.
For a true mirror finish below Ra 0.05 µm, you’ll follow the sandpaper sequence with diamond lapping paste (diamond compounds): 9 µm → 6 µm → 3 µm → 1 µm → 0.5 µm.
Polishing Compounds
| 등급 | Recommended Compound | 참고 |
|---|---|---|
| 2등급(CP Ti) | Aluminum oxide buffing compound (white/grey) | Works; needs frequent wheel dressing |
| 5등급(Ti-6Al-4V) | Diamond paste 9–0.5 µm | Required; Al₂O₃ breaks down too fast |
| Both — final buff | White polishing compound + soft cotton wheel | Last step before diamond paste |
| Both — ultra-mirror | 0.5–1 µm diamond paste + combed cotton wheel | Achieves Ra < 0.05 µm |
Power Tools (Optional)
A bench grinder or angle grinder with a cotton buffing wheel speeds up the final polish stage. Keep speed between 1,000–2,000 RPM — faster than 3,000 RPM on titanium generates enough heat to discolor the surface within seconds. A variable-speed rotary tool (Dremel-type) works well for small parts like jewelry or knife blades.
For hand polishing, a leather strop loaded with diamond paste is the traditional choice for knife makers — slow, controlled, and zero risk of heat damage.
Other Supplies
- Isopropyl alcohol for cleaning between stages
- Masking tape to protect areas you don’t want polished
- Clean microfiber cloths (one per grit stage — cross-contamination reintroduces scratches)
Step-by-Step: The Complete Polishing Process
Stage 1 — Material Assessment and Surface Prep
Before touching sandpaper, identify what you’re starting with:
- As-machined CNC surface: Start at 220 grit
- Bead-blasted or lightly scratched: Start at 400 grit
- Already sanded / matte finish: Start at 600 or 800 depending on existing scratch depth
Clean the part with isopropyl alcohol. Any cutting oil, fingerprints, or metal chips will embed in sandpaper and create new scratches at the worst time.
Stage 2 — Progressive Wet Sanding
Work through each grit in order: 220 → 400 → 600 → 800 → 1200 → 2000. Never skip a step.
The 90° rule: At each new grit, orient your strokes 90° to the previous stage. Sand until the previous grit’s scratch pattern is completely replaced by the new, finer parallel lines. Only then advance. This is the single most important technique in titanium polishing — skipping it is why people arrive at the buffing stage and find scratches they can’t remove.
Approximate time per stage on a ~100 cm² surface:
- 220 grit: 10–15 min
- 400 grit: 8–12 min
- 600 grit: 6–8 min
- 800 grit: 5–8 min
- 1200 grit: 4–6 min
- 2000 grit: 3–5 min
Keep the surface wet throughout. Rinse and dry completely before moving to the next stage. Inspect under a bright side-light to confirm no previous-grit scratches remain.
After 2000 grit, the surface should appear uniformly hazy with fine, consistent parallel lines — no visible deeper scratches.
Stage 3 — Buffing Compound (Pre-Mirror)
Mount a stitched cotton buffing wheel on your rotary tool or bench grinder. Apply white aluminum oxide polishing compound (for Grade 2) or diamond compound 9–6 µm (for Grade 5). Work at 1,200–1,800 RPM. Keep the part moving — dwelling in one spot for more than 2–3 seconds generates heat.
Watch for discoloration. The first sign of too much heat is a faint golden tint, which quickly progresses to blue-purple-rainbow. If you see any color change, stop immediately, let the part cool completely (don’t quench in water — thermal shock can stress thin sections), then resume with lighter pressure.
After the compound stage, the surface should show a bright, almost-mirror appearance but with faint swirl marks visible at an angle.
Stage 4 — Diamond Paste Final Polish (Mirror Finish)
This stage is where the mirror emerges. Apply diamond paste in sequence on a combed soft cotton wheel or leather strop:
9 µm → 6 µm → 3 µm → 1 µm → 0.5 µm
Use a fresh applicator for each grit size. Between each diamond compound size, wipe the surface completely clean with isopropyl alcohol — carrying over coarser diamond particles into the finer stage scratches back through your work.
At 0.5 µm, the surface should be visibly reflective — you should be able to read text in the reflection. This corresponds to a surface roughness of approximately Ra 0.05 µm or better, which qualifies as a mirror finish under most industrial and medical standards.
For ultra-fine work (medical implants, optical components), continue to 0.25 µm or follow with electropolishing per ASTM B600.
Mechanical Polishing vs. Electropolishing
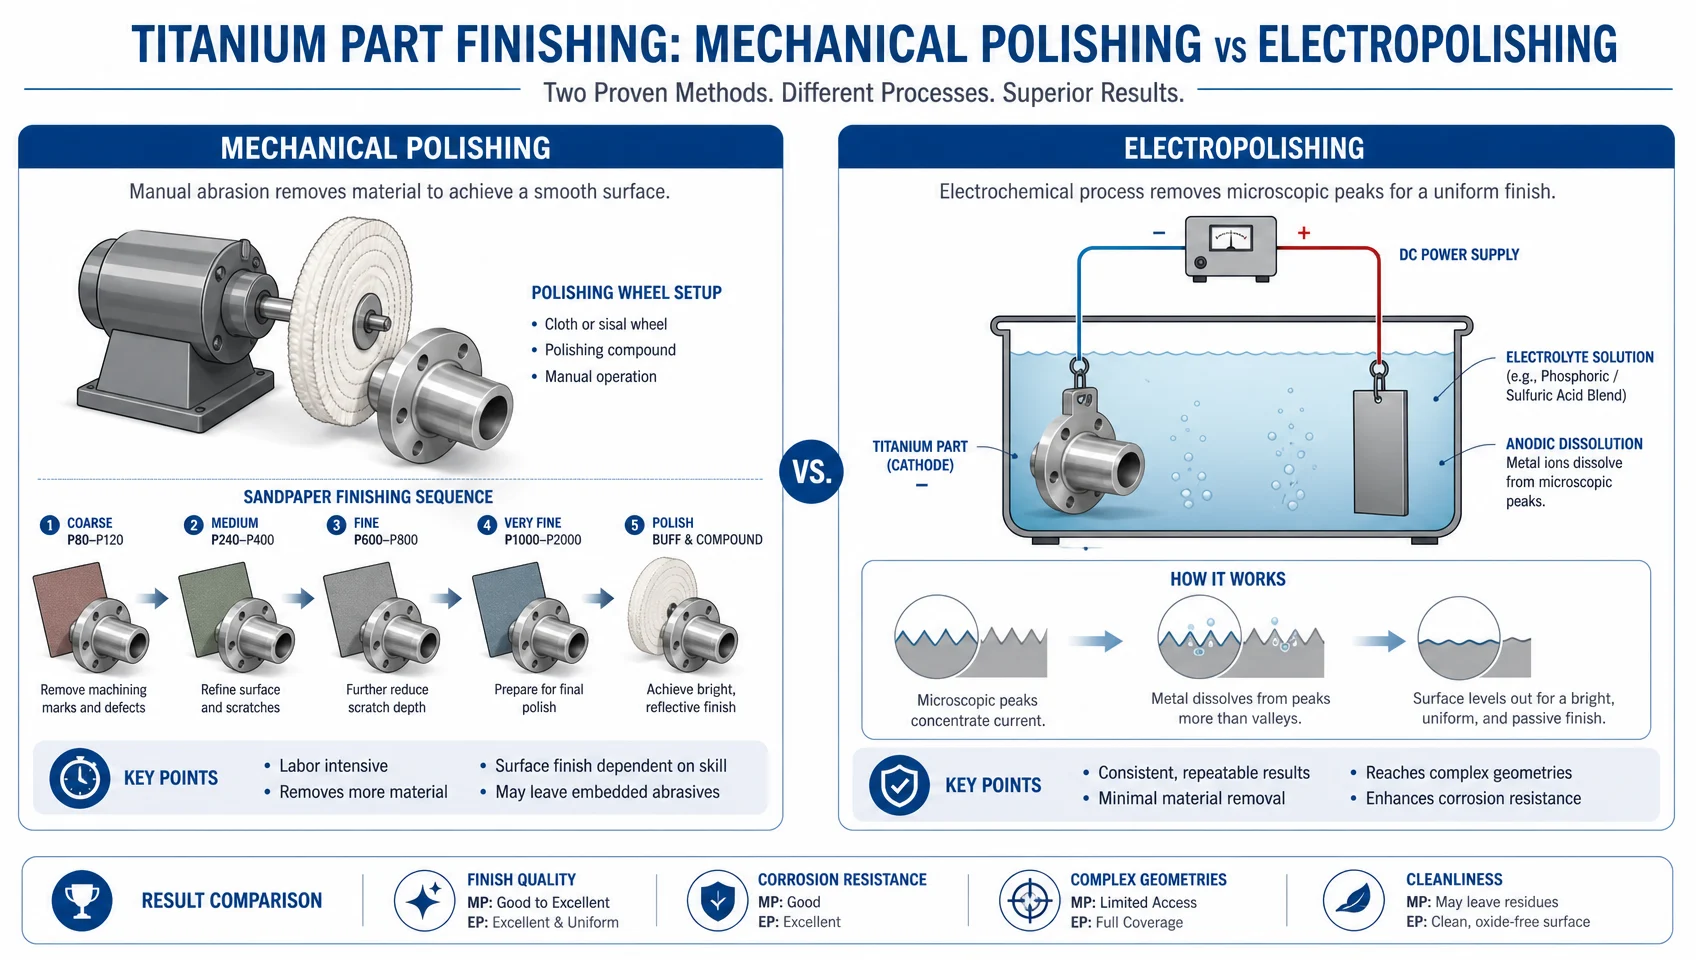
For most DIY and prototyping applications, mechanical polishing is the right approach. But it has limits.
Choose mechanical polishing when:
- Surface is accessible (flat, simple curves)
- You need dimensional control (mechanical polishing removes minimal material)
- You’re working on decorative parts (jewelry, frames, handles)
Choose electropolishing (or specify it to a vendor) when:
- The geometry is complex — threads, internal channels, recessed features that a buffing wheel cannot reach
- You need a certified Ra value for medical or aerospace use (ASTM B600)
- You’re doing high volume — electropolishing a batch is far cheaper per unit than hand polishing at scale
- The part is Grade 5 and extremely hard — electropolishing bypasses the work-hardening problem entirely
One real-world data point worth knowing: switching a titanium aerospace bracket specification from mirror polish to bead-blast reduced unit cost by approximately 35%. Mirror finishes are expensive. Only specify them when the application functionally requires it.
Grade 2 vs. Grade 5: What Actually Changes
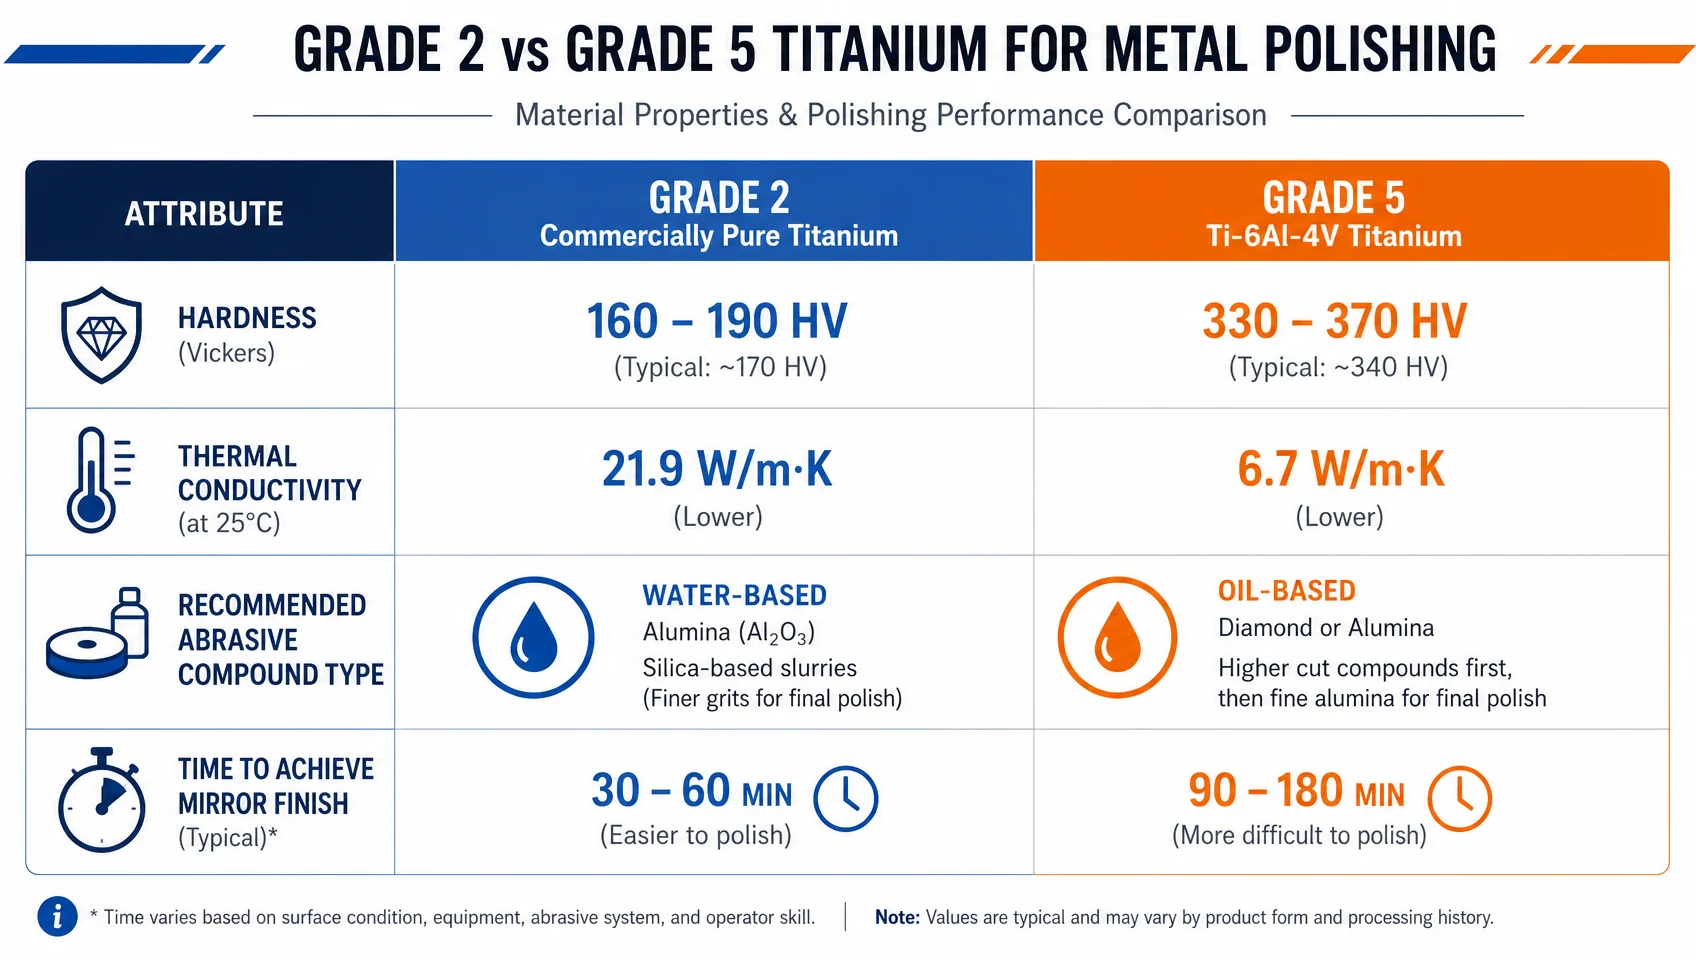
Most titanium polishing guides treat all titanium as interchangeable. It isn’t.
| 요인 | 2등급(CP Ti) | 5등급(Ti-6Al-4V) |
|---|---|---|
| 경도 | ~160–200 HV | ~330 HB (~36 HRC) |
| 열전도율 | ~16.3W/m-K | ~6.7 W/m·K |
| Abrasive choice | Aluminum oxide works | Diamond compound required |
| Galling risk | Higher — prone to smearing | Lower — but work-hardens more |
| Time to mirror | ~1–2 hours by hand | ~2–4 hours by hand |
| Common applications | Jewelry, cookware, medical sheet | Aerospace, industrial, implants |
Grade 2’s higher thermal conductivity (closer to stainless steel) makes it more forgiving with power tools. Grade 5 requires slower speeds and more patience at every stage — but produces a harder, longer-lasting mirror surface once achieved.
Safety: Titanium Dust Is a Real Hazard
This is the section most guides skip. Dry titanium dust and fine particles are classified as a pyrophoric material under NFPA 484 — meaning they can ignite spontaneously in certain conditions, particularly when fine dry powder accumulates. Practically speaking:
- Wet sand throughout — keeps particles suspended in water and eliminates the dry-powder accumulation risk
- Never use compressed air to blow titanium dust off a dry surface in an enclosed space
- Use proper ventilation and a particulate mask rated for metal dust (N95 minimum; P100 if dry grinding)
- Keep a Class D fire extinguisher if doing dry grinding on titanium (Class ABC extinguishers are ineffective on metal fires)
For hand sanding and buffing at home, wet sanding essentially eliminates the fire risk. The dust hazard applies primarily to dry machining and grinding operations.
Common Mistakes and How to Avoid Them
Using the wrong compound for the grade. Aluminum oxide on Grade 5 doesn’t cut — it clogs and generates heat. If your compound isn’t visibly cutting after 5 minutes, switch.
Skipping grits. You cannot grind out 400-grit scratches with 1200-grit paper in a reasonable time. The scratch removal math doesn’t work. Go back.
Not confirming grit removal before advancing. Inspect under a raking side-light (flashlight held at a low angle works). Shadows in the scratch lines are previous-grit marks that will show through the final polish.
Dwelling in one spot with a powered wheel. Two to three seconds maximum in any one location. Titanium heat builds without warning.
Cross-contaminating between stages. A single coarse particle on your cloth from stage 1 will scratch through your 2000-grit finish. Use a fresh cloth and clean the surface completely between every stage.
Over-buffing edges. Cotton buffing wheels remove material. On precision parts, round over edges and dimensionally alter features if used aggressively. Hand-polish edges; use the wheel only on flat or gently curved faces.
자주 묻는 질문
What grit do you start with when polishing titanium?
Start at 220 grit if the surface has machining marks or deep scratches. Start at 400 grit for lightly scratched or bead-blasted surfaces. Then progress: 400 → 600 → 800 → 1200 → 2000 before moving to buffing compound.
Why does titanium turn blue or rainbow colors when polishing?
This is TiO₂ (titanium dioxide) forming on the surface due to frictional heat. Titanium’s low thermal conductivity (7.2 W/m·K for Grade 5) concentrates heat at the polishing interface. The color indicates you’ve exceeded safe temperature. Reduce speed and pressure immediately, let the part cool, and resume.
Can you polish titanium to a mirror finish at home?
Yes, for small parts. The process is slow and requires the right abrasives, but no industrial equipment is needed for pieces up to roughly dinner-plate size. Budget 1–4 hours of hand sanding for a clean mirror result on a 100 cm² surface.
Does polishing titanium affect its corrosion resistance?
Slightly — over-polishing can thin the natural TiO₂ protective layer. In practice, the layer re-forms rapidly on exposure to air and the effect on corrosion resistance for decorative or structural parts is negligible. For medical implants, any surface modification should follow ASTM B600.
When should I use diamond paste instead of regular polishing compound?
Use diamond paste for any Grade 5 (Ti-6Al-4V) part beyond the 2000-grit stage, and for any application requiring a certified mirror finish (Ra < 0.1 µm). For Grade 2 decorative work, standard aluminum oxide compound at the buffing stage is sufficient.
How do I know when I’ve achieved a true mirror finish?
You should be able to read text reflected in the surface at arm’s length. Technically, a mirror finish is typically Ra ≤ 0.05–0.1 µm. At Ra 0.1 µm (achievable with 0.5 µm diamond paste), reflections are clear and undistorted. At Ra 0.05 µm and below, the surface is optically mirror-quality.
Titanium Mirror Polish Is Slow Work Done Right
The process isn’t complicated, but it punishes shortcuts. The machinists who get consistent mirror results on titanium aren’t using special equipment — they’re just methodical: right grit sequence, right compound for the alloy grade, wet throughout, and never advancing until the previous stage’s scratches are gone.
If your last attempt ended in heat discoloration or stubborn scratches that wouldn’t buff out, the root cause is almost always one of three things: skipped a grit, used the wrong compound for Grade 5, or ran a power wheel too fast for too long in one spot. Fix those three habits and the mirror follows.